Phalaenopsis orchids should be repotted once a year, typically right after it has finished blooming. Repotting an orchid is considerably different than repotting other house plants. If this is your first time repotting an orchid, you may want to watch our orchid care video on orchid repotting before you get started.
Getting Started
Follow these instructions for repotting your Phalaenopsis orchid:
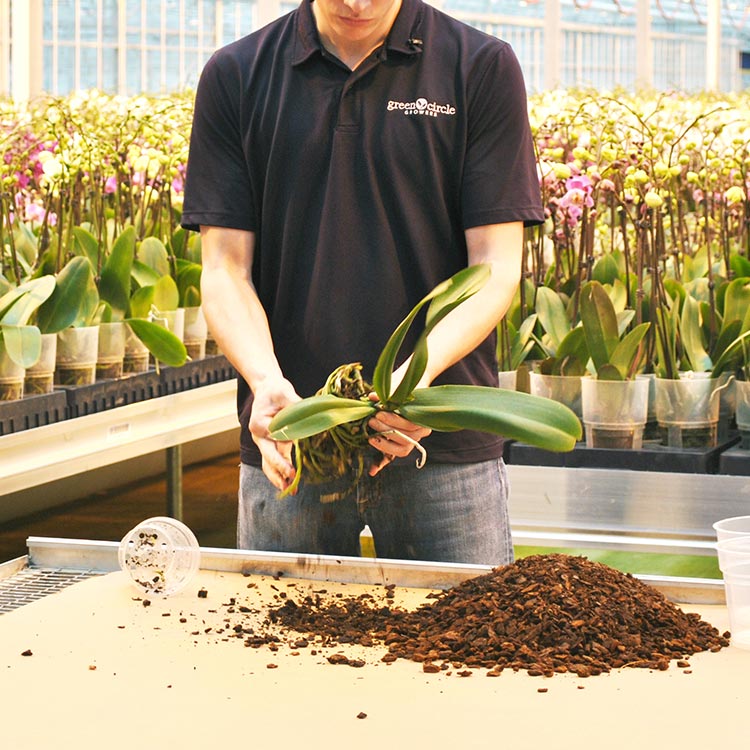
- After trimming the orchid spike (see our previous post), carefully remove the orchid from its pot. Laying the pot on its side, gently grasp the base of the plant and slowly pull it from the pot. If necessary, slide a thin, blunt knife around the inner edge of the pot to loosen adhering roots.
- Remove old potting media from the roots by gently shaking off as much material as possible. Remove any remaining particles by holding the plant’s roots under a gentle stream of running water.
- Using sterilized pruning shears, carefully trim off any damaged or rotting roots that have turned black or dark brown or become soft. Healthy roots, which will be firm and green or white in color, should be left intact.
- Place the orchid in the new container with the base of the lowest leaf about one half-inch below the pot rim.
- Carefully add new media around the roots, tamping it down lightly with your fingers until it reaches the base of the lowest leaf.
For 10 simple steps to keep your orchid healthy, download our free guide here! And to keep your orchids well-watered, sign up for watering reminders here.