Many people purchase their first orchid on a whim. They may be attracted to a display of exotic orchids at their local grocery or home and garden store. Delighted by the bright colors and graceful forms of orchid plants, first-time orchid buyers seldom know how to tell which orchid plants on display are healthy and will provide them with years of pleasure and which plants are suffering and likely to fail shortly after they’re taken home.
Whether you’re buying an orchid for yourself or to give as a gift, follow these tips for selecting a healthy orchid:
- Look at the tag for the orchid grower’s name. If the tag identifies the plant as a Just Add Ice Orchid, you are assured that the plant is healthy, hardy and at peak bloom. Grown in the U.S. at our eco-friendly facilities in the Midwest, Just Add Ice Orchids combines proven orchid-growing techniques with state-of-the-art equipment to produce only the healthiest, most beautiful Phalaenopsis orchids.
- Inspect the orchid’s leaves and stem for signs of disease or pest infestation. Discoloration or the appearance of soft spots indicates bacterial or fungal disease. Small yellow spots on leaves or tiny webs on the undersides of leaves indicate a spider mite infestation. If you see what look like tiny cotton tufts on leaves, the plant is infested with mealy bugs. Tiny white bumps on the orchid’s leaves or stalk are a sign of scale. Scale can also leave a sticky residue on plant leaves.
- Look at the orchid’s visible roots. The roots should be round and full either white or green in color. Avoid brown or mushy looking roots.
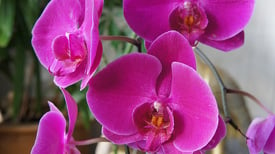
Photo by: alantankenghoe