Get notified every time a new article comes out and
keep up with the latest plant care or plant trend.
Orchids thrive in a tropical environment. Though sometimes we like to pretend we live in exotic places, our homes are not tropical environments. That’s why it’s important to know how to fertilize orchids. When you apply fertilizer, you’re helping your plant rebloom by providing it with the nutrients it would normally find in its natural environment. Fertilizing helps replenish your potting medium, too.
It may seem like a daunting task, but it’s as easy as watering your orchid. All you need is the proper orchid fertilizer and a good application process.
To make things even easier, here are our top five orchid fertilizing tips.
Orchid fertilizing is most effective after it’s done flowering. Once the blooms are done dropping, fertilize your orchid at least once a month, but no more than every other week.
If you can’t find a specially formulated orchid fertilizer, choose an all-purpose fertilizer that contains equal amounts of nitrogen, phosphorus and potassium (look for 20-20-20 on the label) plus micronutrients. The numbers are percentages that will tell you it’s a balanced fertilizer.
Also, if you’re going to use a balanced granular fertilizer, be sure to dissolve it in water before applying. And pick a non-urea fertilizer. Urea is a component of nitrogen. Avoid it because it can take up to a year to break down and be available to your plant. In non-urea fertilizers, 100 percent of the nitrogen is immediately available to the orchid.
Once you’ve made your choice, mix your fertilizer with water and apply at half strength.
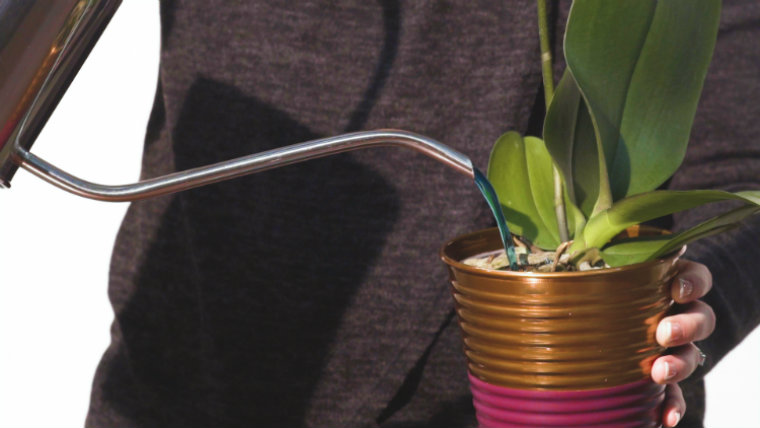
Put your fertilizing solution in a watering can or pitcher with a spout. This will allow you to get close to the bark of your plant.
Hold your plant over the sink and steadily pour the fertilizer directly on the bark. Make sure you don’t get any fertilizer on the leaves.
Let the solution drain all the way through your orchid so you can ensure any excess fertilizer is removed. Double-check your pot’s drainage holes. Make sure they’re not obstructed so the solution can completely drain through.
You won’t need to water your orchid on the weeks when you fertilize. That’s because your solution is half water, so it’s getting what it needs.
If you’re an orchid grower and love to see your plant come back year after year, fertilizing plays a critical role. Orchid fertilizer also provides your plant with the micronutrients it needs.
As important as fertilization is, it’s also very easy to do. You can follow these simple tips to get the job done or watch our fertilizing video to see the process in action. If you’re looking for a little more detail, check out our “Complete Guide to Orchid Fertilization”. You’ll find a few more tips and learn more about the different types of fertilizer you can use.