Get notified every time a new article comes out and
keep up with the latest plant care or plant trend.
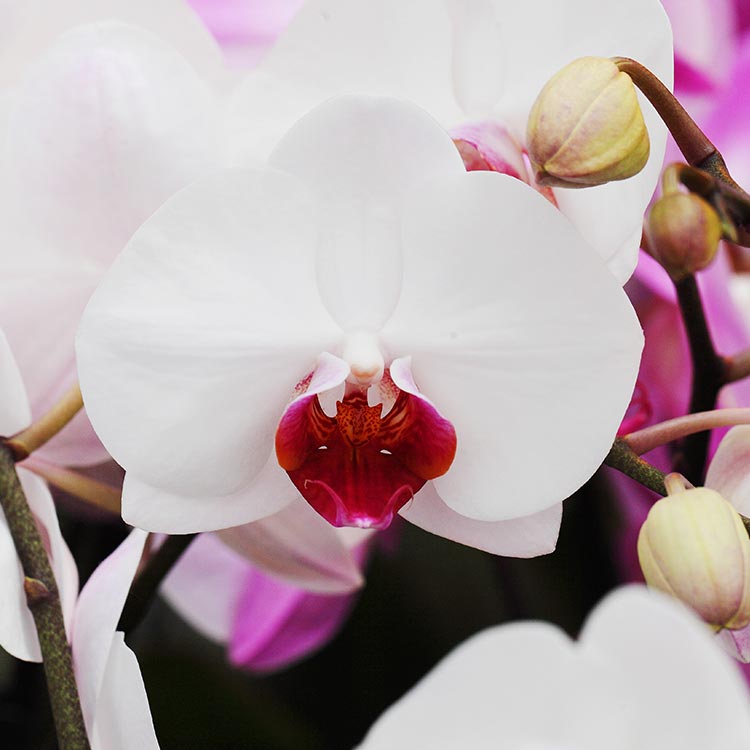
As much as we’d like them to, orchid blooms can’t last forever. There will come a day when your orchid’s blooms will wilt and fall. If you’re a new orchid owner, then you’ll be delighted to learn this doesn’t mean your orchid is dead. Rather, it is entering a resting period.
With the proper care, your orchid will likely bloom again. Let’s discuss how you should care for orchid spikes to encourage reblooming.
Make it a priority to keep a close eye on your spikes. Healthy spikes are green, thick and firm to the touch. A brown or yellow spike will not produce any new buds. Weak, short or thin spikes are signs of inadequate light, too much light or a mineral deficiency.
If you suspect a virus, isolate your plant to keep the sickness from spreading. For weak spikes, place your plant in an east-facing window, with a curtain to diffuse the direct sunlight. For short spikes, less light is key, so move the orchid away from the window. And for thin spikes, beef up your plant’s mineral levels with a phosphorous-rich fertilizer, and move it to closer to the light.
In a way, your orchid’s spikes are like your hair. If you let them grow for too long without a trim, they can become a wild and out-of-control mess! After your last blooms drop, if your spikes are brown, cut them off at the base. If your spikes are green, cut them one inch above a node. “Tidying up” your spikes will conserve your plant’s energy for upcoming growth.
Speaking of trimming your spikes, keep in mind that your spikes will only be as clean as the tools you use to cut them. To clean your tools, follow these steps:
Once cooled, your tools are OK to use to trim spikes. After you’ve finished cutting your spikes, clean your tools once more before storing them. For alternative methods for cleaning orchid tools, click here.
In nature, orchids develop a bloom spike in the late fall when temperatures drop. The spike grows during the winter, with blooms appearing in late winter or early spring. In our homes, however, we keep our temperatures much the same. Because of this, the orchid may forget when it’s time for blooming to start.
So what’s an easy way to encourage your orchid to spike? Give it a little cool air! Place your orchid in a cooler part of your home for about a week, avoiding cold blasts of air from fans or air conditioners. An optimal nighttime temperature is between 60 and 70 degrees Fahrenheit.
Remember, your orchid is still living even after the blooms have fallen. Keep a watchful eye on your spikes, and you’ll likely have more beautiful blooms in your future!
For more details on orchid reblooming, download this helpful step-by-step guide.