Orchid Repotting

repotting

healthy orchid, happy home

Repotting your Phalaenopsis orchid helps keep it healthy so it can continue to brighten your home. While you may want to repot your orchid as soon as you bring it home, it’s important to resist this urge and wait until the plant is resting before you repot. Otherwise, the flowers could fall off prematurely, which will leave you with a beautiful pot, but a bare flower stalk.

reasons to repot & other tips

Growth Icon

Calendar Icon

Sad Icon

product-img-repotting-kit-1

now available

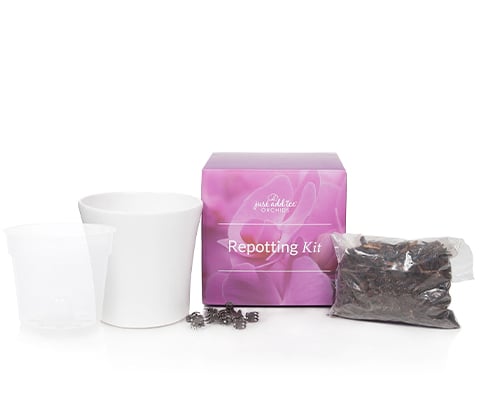
Orchid Repotting Kit

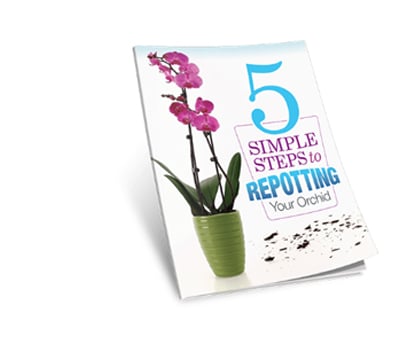
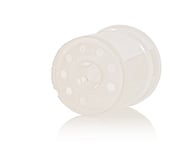
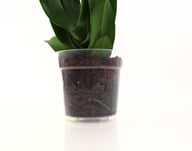
This repotting kit guides you through the process of repotting your 5” Phalaenopsis orchid from start to finish. The kit contains orchid potting media, clips, a 6” clear grower pot, and a 6” ceramic pot. The enclosed booklet provides easy-to-follow instructions.
Repotting-Your-Orchid

5 Simple Steps to

Repotting Your Orchid

Owning a Phalaenopsis orchid can be a very rewarding experience because this type of orchid is easy to grow with minimal effort, giving its owner beautiful and colorful flowers for many months! There comes a point in time where all Phalaenopsis orchids should be repotted to maintain good health and help prolong their lives.

frequently asked questions

When do I need to repot my orchid?

When your plant's roots have outgrown its current pot, it's time to repot into a larger plastic grower pot. The best rule-of-thumb is to repot your orchid every 1 to 2 years. You can, however, repot earlier if the media starts to smell bad, the current pot isn’t draining well or your orchid outgrows its home faster. Repotting your orchid allows you to make room for its growing roots. 

How do I select a new pot for my orchid?

Choosing the right pot for your orchid is about more than finding the most stylish planter in the home decor store (although we’ll admit — that is half the fun!) To make sure your plant grows healthy and strong, you’ll need to keep a few additional things in mind:

If your orchid is outgrowing its pot, make sure the new pot is an inch larger than either the 5-inch full-sized clear growing pot, or the 2.5-inch mini clear growing pot.

Make sure the pot has enough drainage holes.

What type of media do I buy and where do I purchase it?:

Wondering about the funky media currently surrounding your orchid? While it may look odd, it’s a special bark concoction that gives the plant everything it needs to be happy and healthy. This is ideal because orchids grow on trees in their native environment, so they need nutrients from bark and some air for the roots to breathe. When repotting, look for a media made specifically for orchids. This is available at gardening or home improvement stores. Do not use moss or potting soil because it will not provide the drainage and airflow your orchid needs to grow into its most beautiful self.

How do I repot my orchid?

Repotting an orchid is considerably different than repotting other house plants. To repot an orchid, you must:

Step 1 Repotting
  • Gently remove the plant from the original plastic pot and shake off remaining bark/media.
 
Step 2 Repotting
  • Select a new, slightly larger pot with drainage holes in the bottom.
 
Step 3 Repotting
  • Place plant into pot before adding bark.
 
Step 4 Repotting
  • After all roots are inside, add fresh potting bark around the sides.
 
Step 5 Repotting
  • Press the soil down gently, without using too much pressure.
 
Step 6 Repotting
  • Avoid large air pockets in the pot to keep your plant from drying out too quickly.