
Get notified every time a new article comes out and
keep up with the latest plant care or plant trend.
When your Phalaenopsis orchid has finished blooming, you have two options. You can either believe your orchid is done blooming forever, or you can wait and see what happens. Orchids will sometimes produce a new bud at the end of the flower spike, extending the blooming period. When secondary blooms occur, the flowers are typically smaller in size than exhibited during the initial bloom because the plant’s first display has depleted its store of energy.
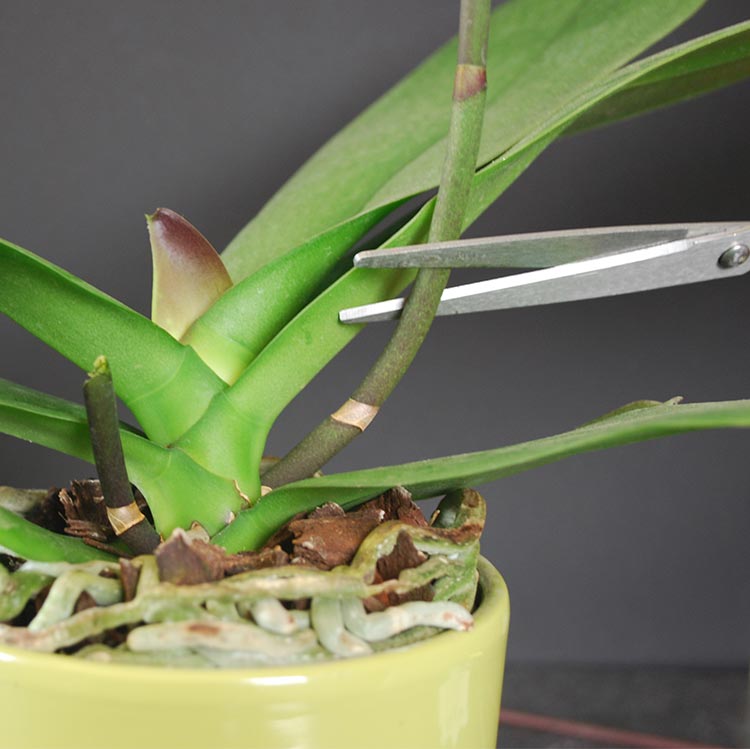
Another way to encourage reblooming is to cut the flower spike back at a node. Nodes are the triangular-shaped protrusions that occur in regular intervals along the orchid spike. Cut the spike off slightly above (approximately one inch) the node using a sharp, sterile knife. This will sometimes trigger the development of a side spike within 8 to 12 weeks. As noted above, if your orchid does generate a secondary bloom, expect the flowers to be smaller than the initial display.
If the spike does not form a bud or if it starts to turn brown or yellow and die back, you will need remove the entire spike. Cut the spike back about an inch above the base of the leaves, making the cut below a node. Some orchid owners choose to cut the spike back to the leaves without trying for a secondary bloom. Doing so forces more energy into the plant which usually results in a stronger spike and larger flowers during the next bloom cycle.
Click here to learn more information about trimming orchid spikes, or check out our video on what to do after your orchids blooms drop.

Copyright Just Add Ice® Orchids 2023