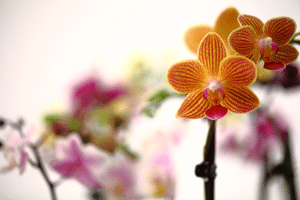
 Today, we will provide instructions on how to safely remove a keiki from an orchid plant, as well as some potting and growing tips.
If a keiki is removed too early, it may not be strong enough to survive the transplant and grow as an individual plant. Wait until it has several small leaves and roots that are two to three inches long before you remove it. Use a sterile cutting tool to cut the cane about two inches above and below the keiki to remove it from the mother plant. To prevent fungal infection, you can apply cinnamon or another fungicide to all the areas that were cut.
Plant the keiki in a four-inch pot, and use sphagnum moss, bark, peat moss, cork, or a commercial orchid potting mix as potting medium. If you choose to use sphagnum moss, make sure that it is damp before you start potting. Fill the bottom of the pot with some moss, and then, make a ball of moss that is a little bigger than the pot and wrap it around the keiki. The moss should be tightly packed into the pot to provide good support for the keiki. As the plant matures, you may consider switching to bark as your potting medium.
Your keiki should not be exposed to too much direct sunlight right after the transplant. As soon as you see signs of growth, you can start increasing the amount of light once every few days. After your keiki is well-established and growing healthily, it can take the same amount of light as the mother plant. Also, you should only add fertilizer after the leaves show signs of growth. It usually takes about two years for a keiki to become a mature flowering plant.
Continue to care for your growing orchid with our 10 Simple Steps to Keep your Orchid Healthy.

Copyright Just Add Ice® Orchids 2023