
Get notified every time a new article comes out and
keep up with the latest plant care or plant trend.
Materials Needed: Orchid Template, X-Acto Knife, Cutting Mat, Aleene’s Tacky Glue or Glue Dots, Scissors, Ribbon, Gift Box
Choose either the purple orchid template or the white orchid template.
Once printed, use the X-Acto knife and cutting mat to cut out the orchid pieces. You can also use scissors, but an X-Acto knife gives a cleaner cut and is able to get into small corners.
To make the orchid more life-like, bend each piece, rolling all of the petals towards the middle as well as the sides of the throat of the orchid, as shown above.
Using tacky glue or glue dots (similar to double-sided tape), piece the orchid together. Do this by placing a dot of glue, or glue dot, in the center of the three-petal piece and attach the two-petal piece.
Hold the pieces together for at least 20 seconds, and then add a dot of glue to the middle of the two-petal piece. Attach the throat of the orchid on top, and then once again hold the pieces together for 20 seconds.
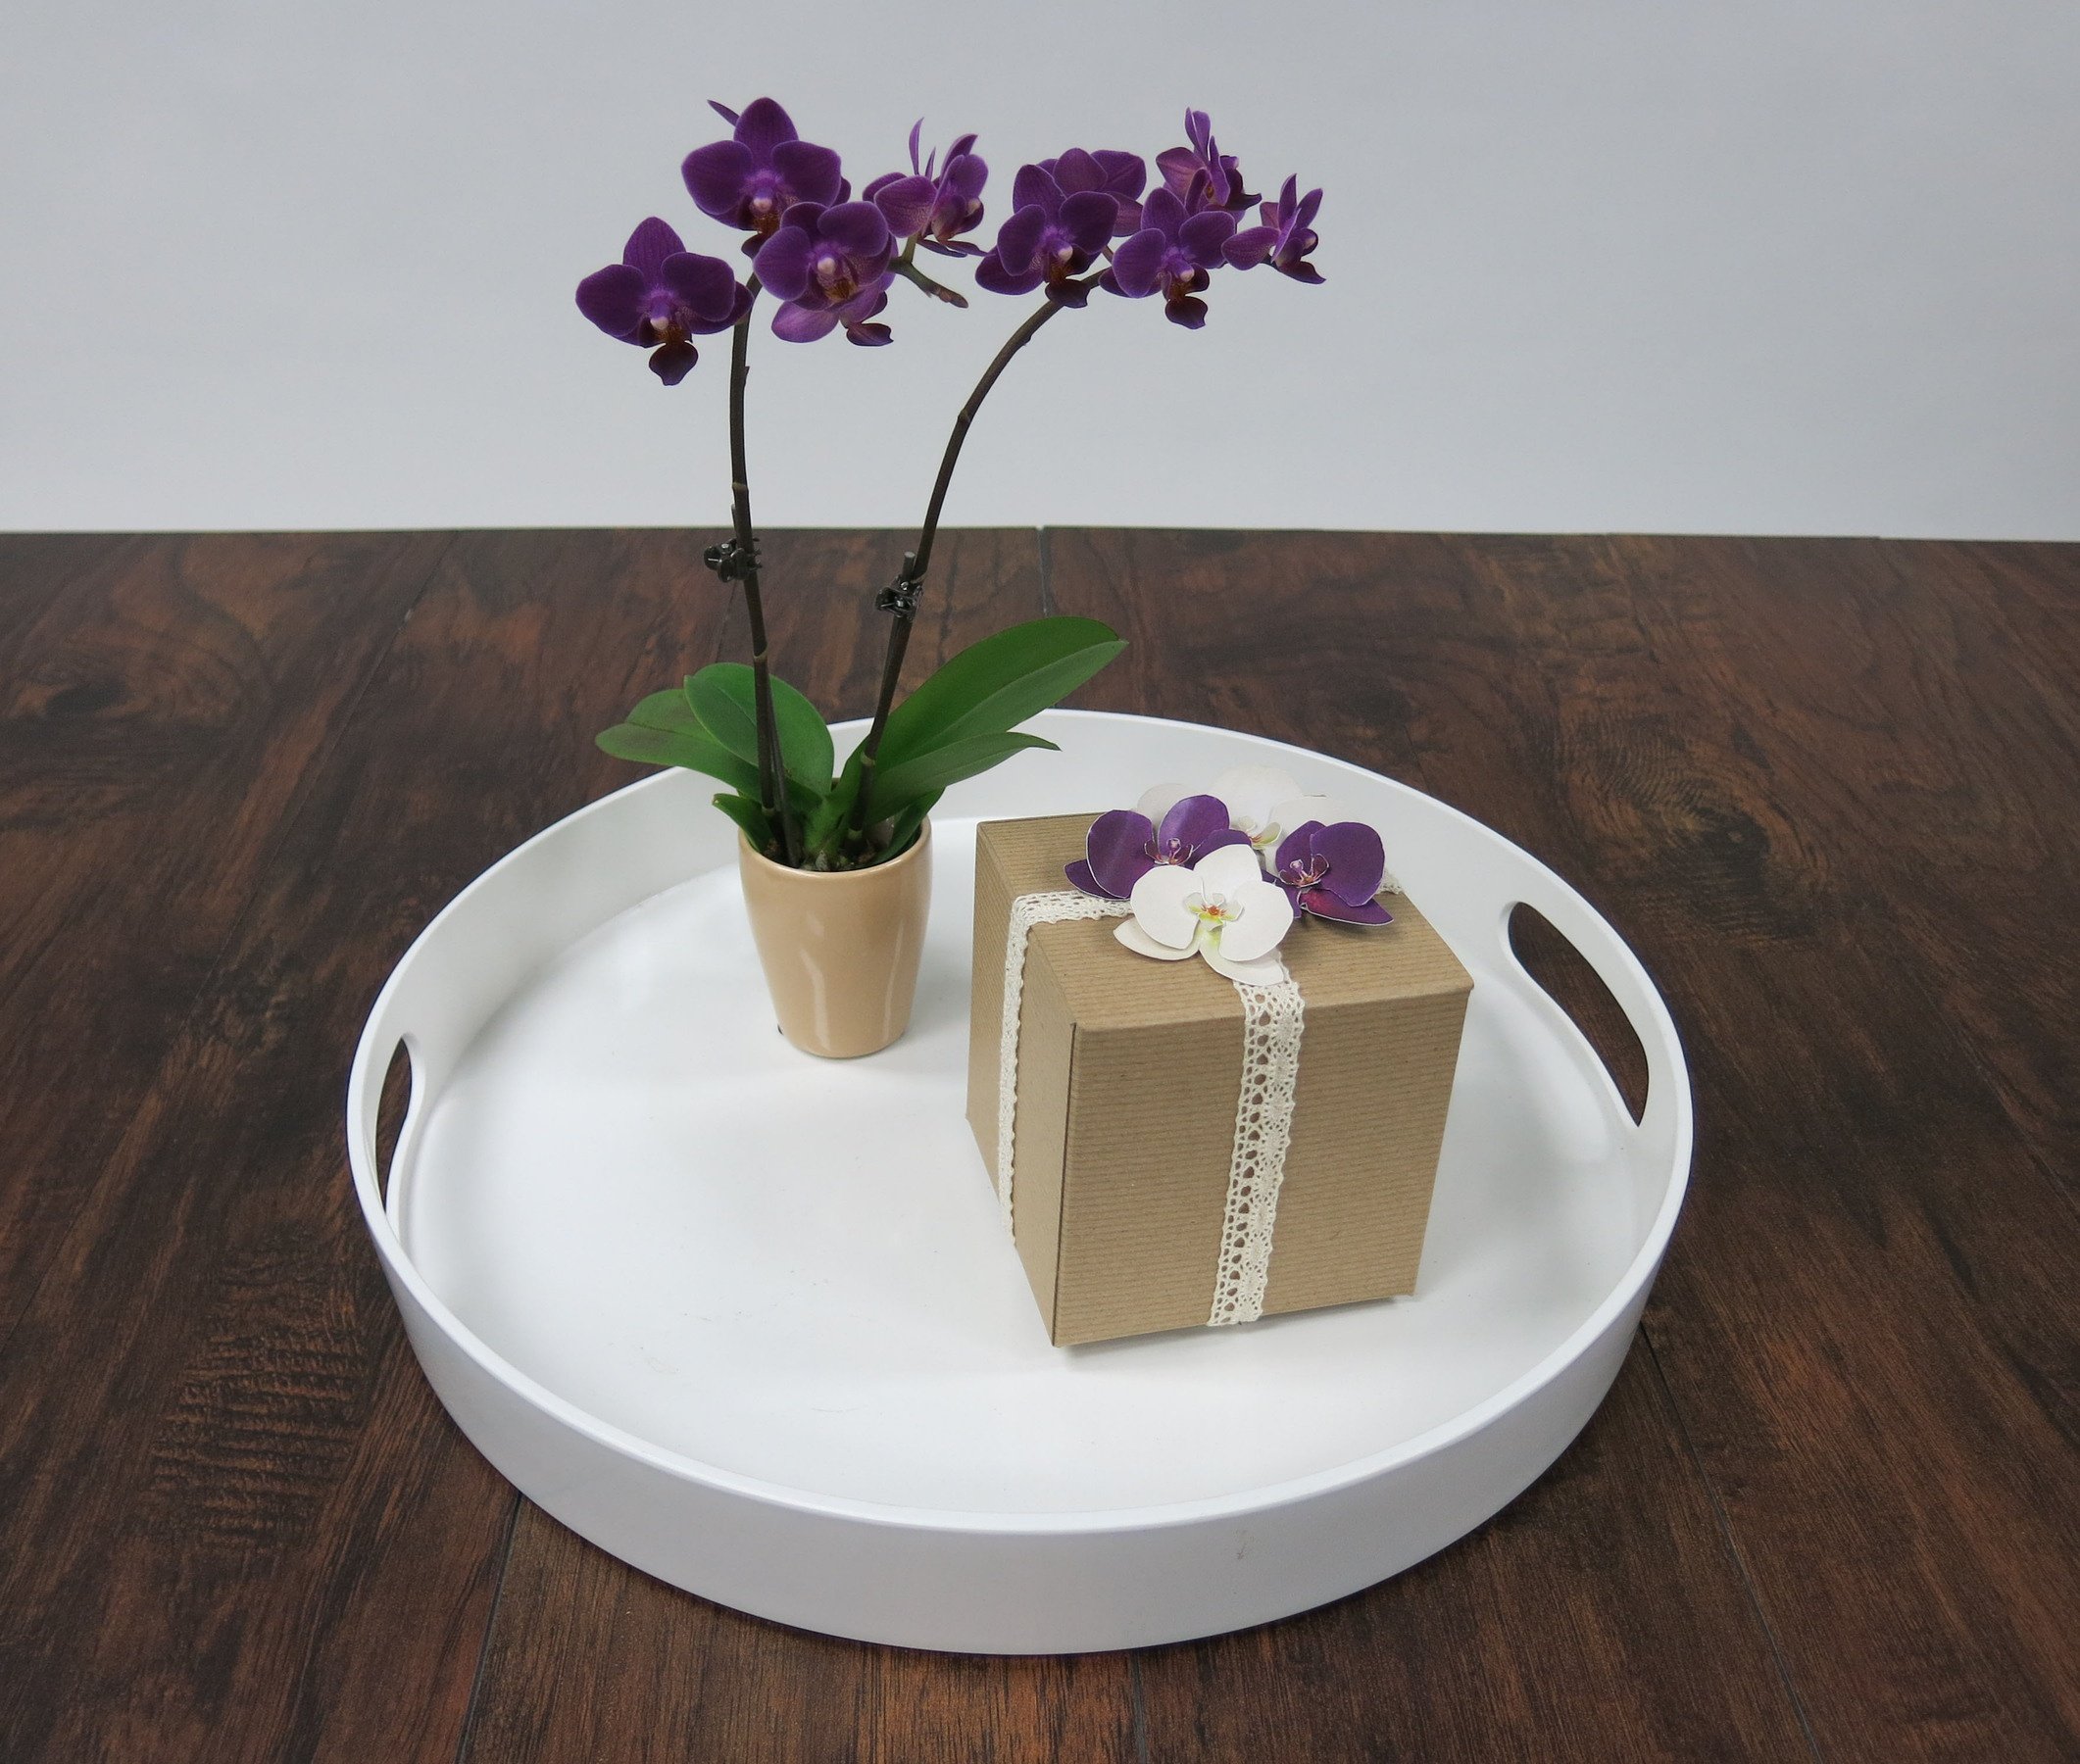
Once the paper orchids have dried, tie a ribbon around the gift box.
Arrange the paper orchids on top of the box. You may need to play around with the design a bit.
Now that you've determined the layout, use tacky glue to paste the paper orchids onto the gift box.
No matter what gift you're giving, adding your DIY paper orchids to the box will make it more special, but for a truly breathtaking effect, consider adding a mini orchid to the ensemble!


