
Get notified every time a new article comes out and
keep up with the latest plant care or plant trend.
We know nature has a calming effect on our minds, which is why we love adding natural touches to our indoor decor with the mysterious beauty of orchids. But have you ever considered combining nature and creativity through a DIY orchid mount?
Creative acts, including crafting, can have meditative effects on the brain, thereby reducing anxiety and improving overall mood. And let’s face it, your orchid deserves to be the best-dressed plant in the room. No artistic talent? No problem! The orchid will do most of the work.
Put on some inspiring music, select your orchid and embrace your inner artist with this simple DIY orchid mount project.
Orchids are epiphytic, meaning that their nature is to grow onto other plants, particularly trees. Spanish moss is another example (and the South just wouldn’t be the same without it). When you mount your orchid to a piece of driftwood or a tree stump, you’re putting it back in its original environment, at least to a degree.
And there’s more good news: Overwatering, the biggest mistake orchid owners make, is impossible on wall mounts like the one featured here. Instead of watering it, you’ll simply mist the roots daily!
DIY orchid mounting also allows you to be more sustainable by upcycling pieces of an old trellis, driftwood you found on a trip to the beach, or even a stump from your backyard!
Here are the basic steps, but when you feel comfortable, feel free to experiment with adding ribbons, raffia and other decor:
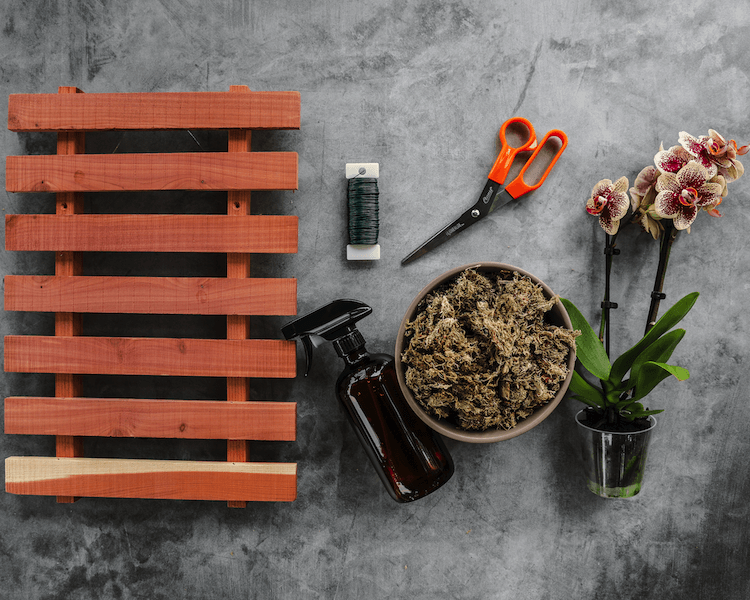
For this project, you’ll need a mount, wire to secure the orchid, moss, wire cutters, a mister and sterilized scissors for trimming the roots.
Remove the orchid from its pot along with any clips and orchid media. Using sterile scissors, trim the orchid’s roots and then mist them with cool water.
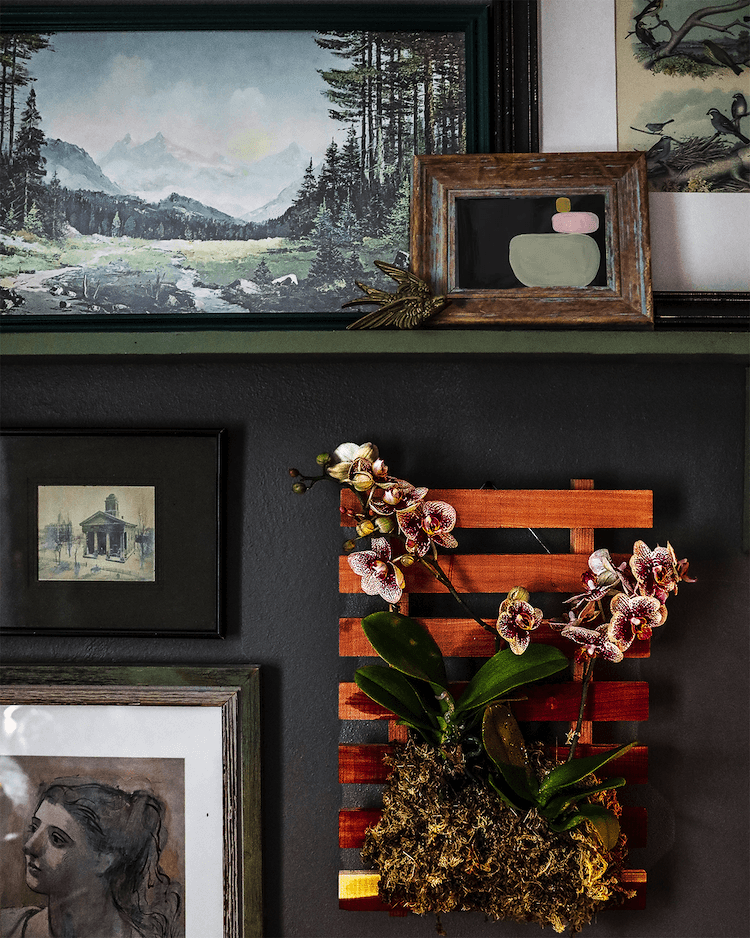
Press some of the moss onto the mount and then lay the orchid on the mount with the roots over the moss. Press more moss onto the top of the roots and then wrap the wire around the moss-covered roots a few times. Voila! You have created your first DIY orchid mount, a work of art you and your guests can enjoy for months to come.
Prefer to see a demonstration? Watch our short video on how to create this DIY orchid mount.
You’ve invested in a beautiful Phalaenopsis orchid and want to show it off, but perhaps taking it out of its original home is still a bit intimidating. Here are some care tips to ensure your project’s success:
Choose the right kind of wood and soak it overnight. Hardwoods that are rot resistant, such as oak, are an ideal choice.
When trimming the roots, be sure to cut away any rotting roots. For added protection, it’s also helpful to soak them in antibacterial and antifungal mix for about five minutes.
Use sphagnum moss. It is the ideal medium for orchids because it allows the air to circulate.
Be sure to mist the roots daily. Since the roots are now exposed to air, they’ll need to moistened more often than potted orchids.
Avoid jostling the roots, especially as the orchid is becoming established in its new home.
Keep your orchids and other indoor plants healthy by learning from our experts! Join our community of orchid fans by subscribing to our weekly blog, subscribing to our YouTube Channel and following us on Instagram!

