
Get notified every time a new article comes out and
keep up with the latest plant care or plant trend.
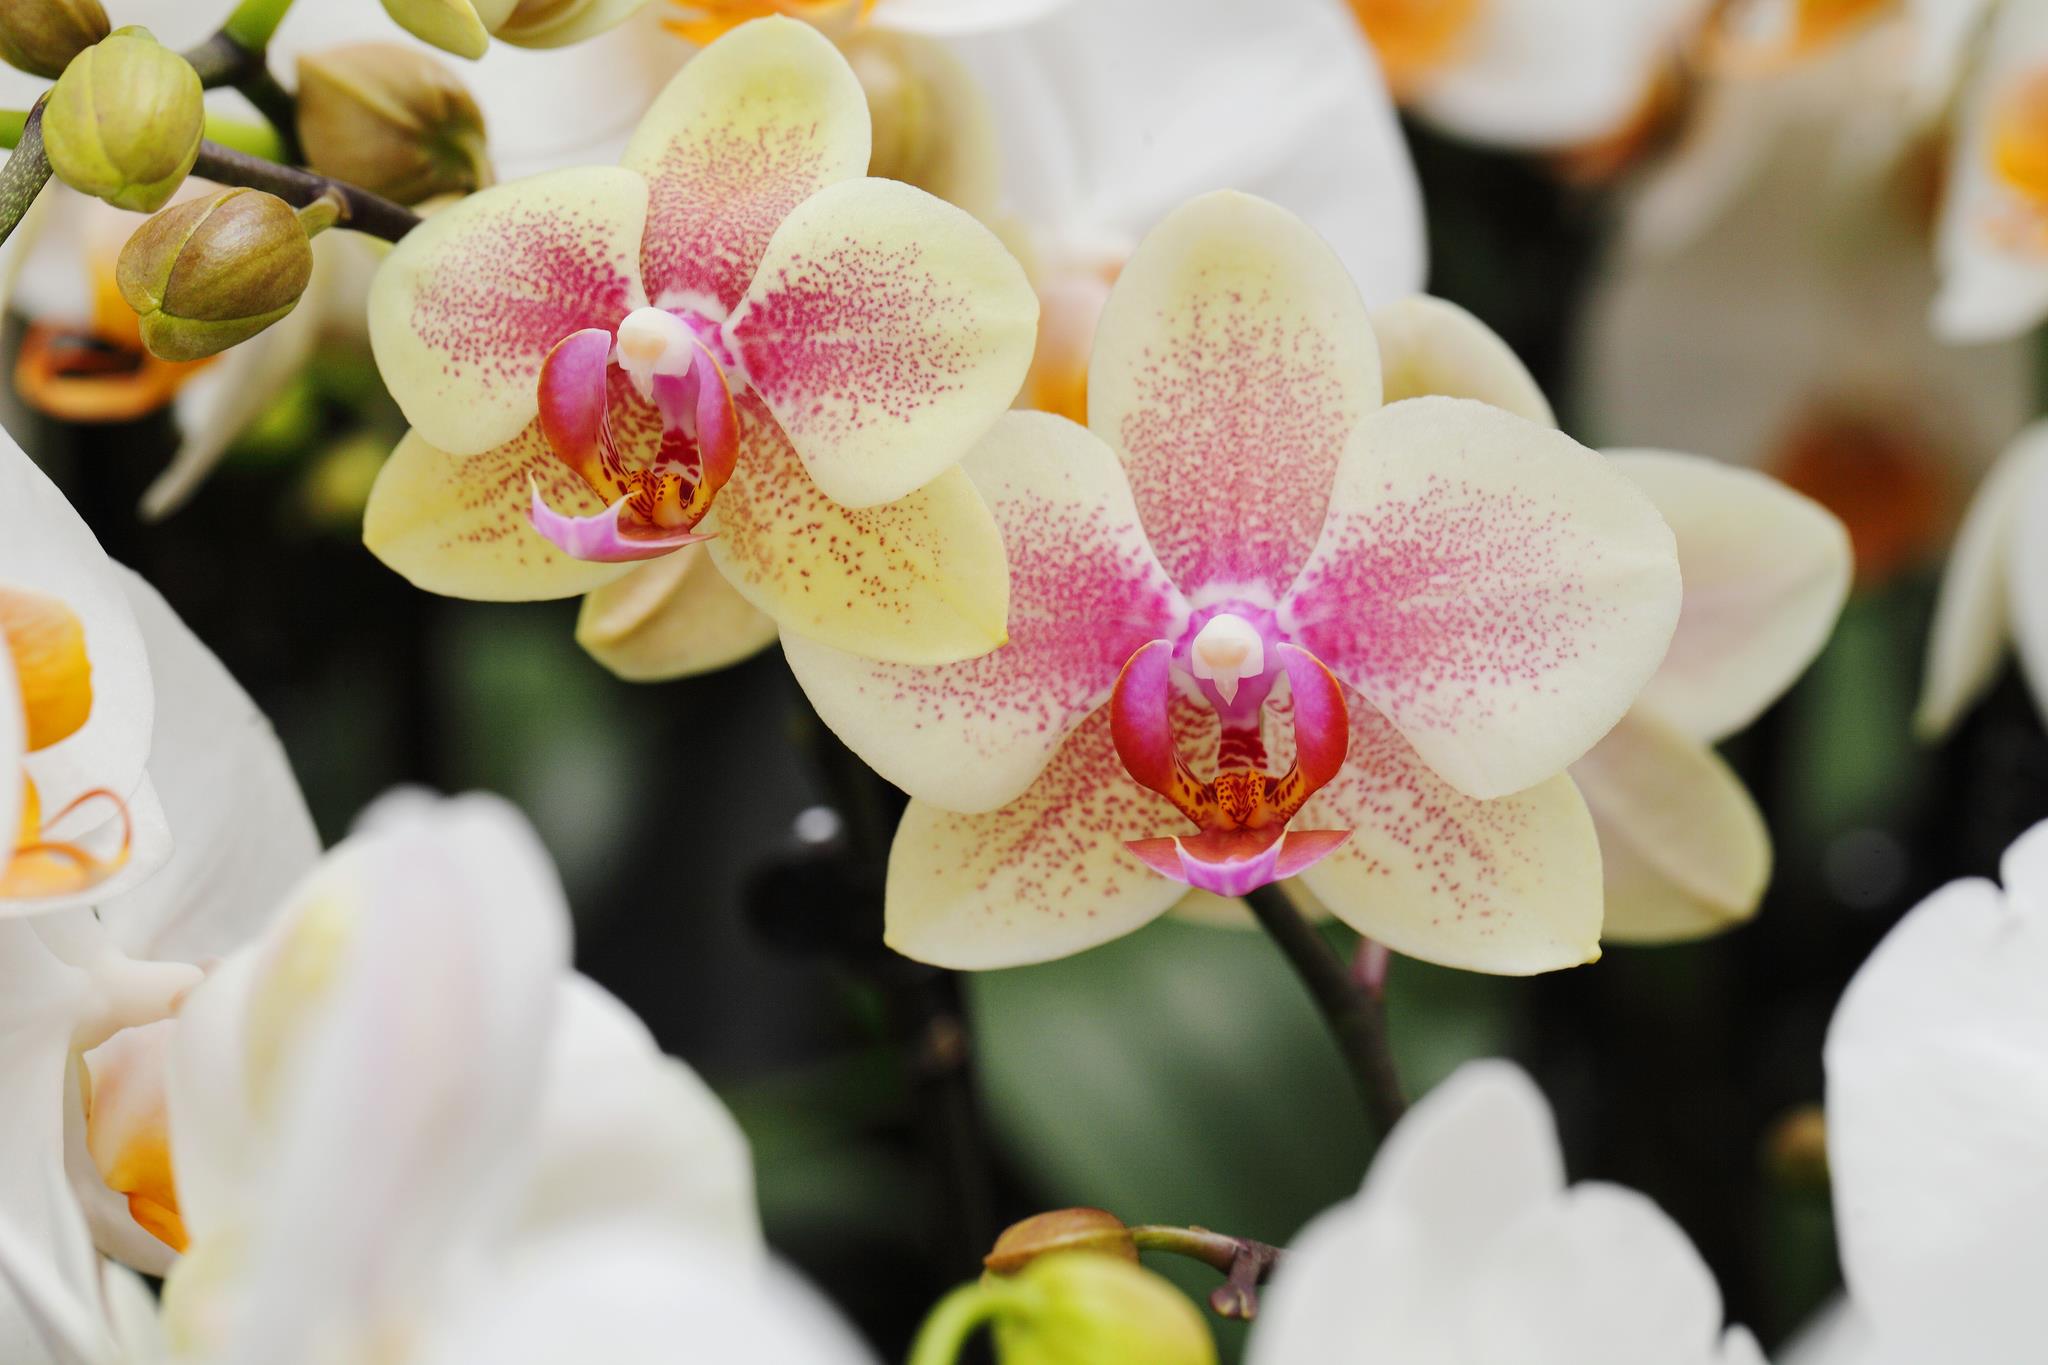
As a proud orchid owner, it’s perfectly understandable that you want to take and share photos of your flourishing plants—and in the era of social media, sharing images has never been easier.
But if it seems like your photos can’t quite capture exactly how beautiful your orchid is in person, taking photos of your orchids can be frustrating. Luckily you don’t need to be a professional photographer to capture a great image and, with a few simple tips, you can start taking orchid photos worth sharing.
Cameras can be complicated pieces of technology, so spend some time learning the features and capabilities of yours. Go through your instructional manual, watch videos on YouTube and remember that practice makes perfect.
Orchids photograph best in soft, diffused light, which means camera flashes aren’t always the best choice. Instead, achieve soft light by using a source that is substantially bigger than the item you’re photographing. Increase the area of your light source by reflecting it off a bright white wall or using a diffuser cloth.
Even if you think you’re steady-handed, a tripod is a worthy investment when taking higher-quality photographs is your goal. Something as simple as a small tabletop version can make a big difference.
Your orchids aren’t going to truly stand out in photographs unless they are the main focal point. Try using a dark-colored backdrop—like a black sheet or towel—to make those colorful blooms really pop.
Now that you have the great photos, what should you do with them? In addition to sharing them on social media, you may want to showcase some hard copies around your home or office. Here are a few display ideas to consider.
Rather than the same-old-same-old feel of a square or rectangular frame, choose a uniquely shaped frame—say, a circle or octagon—to display your photo. If you can’t find what you’re looking for, consider making something.
Who says you should stop at just one? Make a photo collage or gallery wall of orchid photographs to show all the best sides of your plants.
As nice as glossy print photos are, you can also transfer your images onto canvas, tile and even wood. Here’s a simple tutorial on how the transfer process works.
You can enjoy an orchid at every hour with this clever photo display that also keeps the time.
With these photography techniques and display options, you won’t have to wait for your orchid to rebloom to enjoy its beauty all year.
Click here to check out more orchid projects for your home.

