
Get notified every time a new article comes out and
keep up with the latest plant care or plant trend.
It’s a question we often get asked about our orchids: When should you repot them?
First, it’s important to note that you should never repot your orchid when it’s in bloom! Always wait for your orchid to lose its blooms before you worry about repotting it. Repotting can be a slight stress on your plant, and you wouldn’t want to risk that when its blooms are open, bright, and beautiful!
You should repot your orchid every one to two years to keep it healthy and help it grow. Repotting also keeps the potting media in good shape, allowing for the rapid drainage and root aeration that Phalaenopsis orchids require.
If you've never repotted your orchid before, you might wonder if it's necessary. You might also be hesitant to repot your orchid because you don't want to damage it.
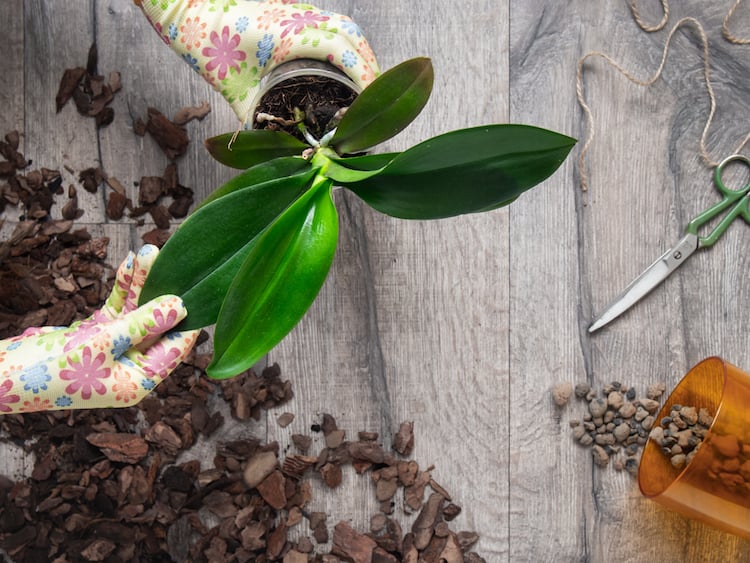
Luckily, orchid repotting is super simple! Here are three telltale signs it's time to repot and what you need to do next.
Orchids are typically potted in loose, coarse fir bark mixed with other organic materials such as sphagnum peat and moss.
Over time, organic materials break down. As particles become small, finer, and more tightly packed, the growing medium is unable to supply the orchid with sufficient nutrition. Air is no longer able to circulate around the orchid’s roots properly. Worst of all, fine, silty soils retain more water, enveloping orchid roots in perpetual moisture, which can quickly lead to root rot and/or the development of fungal disease.
Generally, Phalaenopsis orchids should be repotted every one to two years, but sometimes you might need to repot them sooner.
Inspect your orchid plants periodically. Look carefully at the texture of the potting medium. If it appears to be breaking down or compacting, it’s time to repot. To check for excess moisture accumulation, remove the clear plastic grower pot from the decorative pot and inspect the plant’s roots. Healthy Phalaenopsis orchid roots should be a healthy green color. If roots look brown or soft, they are drowning in too much water. Roots that have turned grayish white are not receiving enough water.
Like we said above, never do this when your plant is in bloom; wait until all blooms have dropped and your plant enters the resting phase.
Once you notice your orchid’s roots seem too crowded in its current container, it’s time to repot your orchid. If you see roots beginning to grow from the plant stem or start to crawl over the side of the pot, it’s a telltale sign your pot has become too small. This does not include aerial roots, which always live above the surface of the soil.
Your orchid gets nutrients from its potting media, but eventually, enough nutrients will be leached from the media, and it will begin to break down into compost. While repotting every one to two years should prevent this issue, your potting media may begin to decay sooner, especially if your current pot isn’t properly draining. If you begin to notice a bad odor, it’s definitely time to repot.
New Phalaenopsis orchid owners often mistake the plants' natural, tangled growing pattern as a sign that their orchid is pot-bound and in need of repotting. If roots are loosely twisting and overlapping, you can wait to repot. Tightly tangled roots show that your orchid needs repotting. Repotting your orchid will provide it with the nutrients it needs to flourish and bloom.
What Else Do I Need to Know About Repotting Orchids?
This video breaks down orchid repotting in just five easy steps:
Next, follow these steps:
Want to make repotting even easier? Order our Orchid Repotting Kit!
It contains everything you need to repot your orchid, including a new grower pot, potting media, and step-by-step instructions.

Copyright Just Add Ice® Orchids 2023