 In our last post, we provided instructions on how to choose the right phalaenopsis orchids for pollination.
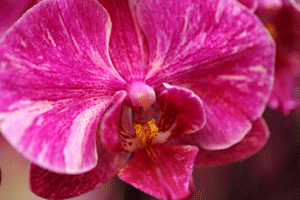
- Place a toothpick under the anther cap’s pointed piece. Pull it up gently and the antler cap will pop off like a lid. You may find two round yellow blobs, which are the pollina, attached to the toothpick. Sometimes, the pollina will not come out so easily, and you have to remove them from the anther cap. Position the cap in such a way that the pollina are exposed and press the thin membrane that sticks out from it with the toothpick. The membrane will stick to the toothpick. Pull up the toothpick to remove the pollina from the anther cap.
- Next, you have to find the stigma. It is a shiny pit that is located directly below the anther cap. You will see two small fang-like projections at the place where you removed the anther cap with the toothpick. These projections stick out over the stigma.
- After you have located the stigma, use the toothpick to push the pollina into it. The pollina will detach itself from the filament and stay in the stigma.
- Return the phalaenopsis orchid to its growing area. Wait six to eight months for the seed pod to mature before sending it to a laboratory for flasking. While the seed pod is ripening, remove all flower spikes that form on the orchid, so that they will not sap energy from the pod.
- If you want to hybridize or cross-breed, you have to pollinate your phalaenopsis orchid with pollina from a different type of phal.
Learn more about interesting Phalaenopsis orchids that have been created by hybridization here.


