
Get notified every time a new article comes out and
keep up with the latest plant care or plant trend.
Struggling to find the perfect wedding invitations? If you're creative or you simply love orchids like we do, then why not try making these fun DIY orchid wedding invites?
You only need a few supplies and a bit of time, but your guests will be in awe when they receive your hand-crafted wedding invite in the mail! (Shhhh! No one needs to know how easy they were to make.)
In spite of their crafty elegance, these DIY orchid wedding invites are fun and simple to make. All you need are a few materials: A printed wedding invite, orchid templates, a pocket knife, cutting mat and Aleene’s Tacky Glue or Glue Dots.
Print the purple orchid template and the white orchid template from a high-quality color printer.

Place the printed template on a cutting mat. Using a pocket knife or scissors, cut out the orchid pieces. (A pocket knife will result in a cleaner cut since it can get into small corners).
To make the orchid more life-like, roll all petals towards the middle as well as the sides of the orchid's throat as shown below.

Using Aleene’s tacky glue or glue dots, which are similar to double-sided tape, piece the orchid together. Do this by placing a dot of glue or glue dot in the center of the three-petal piece and attaching the two-petal piece.
Hold the pieces together for at least 20 seconds to ensure they remain attached. Add a dot of glue in the middle of the two-petal piece, attach the orchid's throat on top and hold the pieces together for 20 seconds or more.

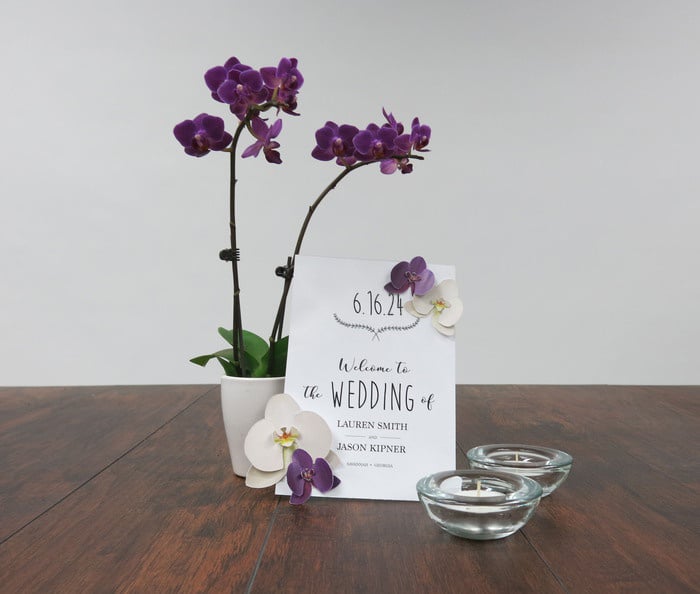
Grab your pre-designed wedding invite and lay the orchids out to determine how they should be placed on the invite.
You can add the paper orchids to the corners to frame the entire invite; place them in a row at the top or the bottom, or spread them sporadically across the whole invite.
The orchid placement will have your creative touch, so don't worry about the 'right' way to arrange them. Go with your artistic instinct!
Once you’ve decided on the layout, glue the orchids onto the invite. Allow it to dry and repeat for each invitation. Voila! You've just created your own beautiful DIY wedding invitation that is certain to impress your guests!

It's time to send your beautiful orchid wedding invites to your guests! We suggest using a box envelope to ensure the orchids on your invite don't get crushed during shipment.
Since you're an orchid lover, why not consider using live orchids as wedding decorations?
Incorporating pops of color is one of this year's trends, and what accomplishes this better than a watercolor or premium orchid?
White orchids make beautiful, elegant wedding centerpieces and minis are perfect to give as gifts to the wedding party and any others who helped make your dream wedding a reality!

