
Get notified every time a new article comes out and
keep up with the latest plant care or plant trend.
You received a beautiful orchid as a holiday present or Valentine's gift and now you feel a heavy sense of responsibility. First, breathe. While they are delicate-looking plants, Phalaenopsis orchids are low-maintenance. With some foundational orchid care tips, taking care of your first orchid baby will be a breeze!
We talk about these foundational principles frequently in our posts because they're so important. They're also the easiest orchid care steps for beginners to follow!
Do you know the biggest mistake orchid plant parents make? Overwatering. The Just Add Ice solution is simple: Water your plant with three ice cubes once per week. The ice cube watering method is a simple way to ensure that your orchid gets the perfect amount of water for healthy growth.
Orchids like sunlight, but it should be indirect. You can accomplish this by placing it near a window with a sheer curtain, which will protect your plant from sunburn.
Orchids were born in the tropics, so they do best in temperatures between 65 and 80 degrees Fahrenheit. Consistent temperatures are ideal, but not always practical. Avoid temperatures below 55 degrees.
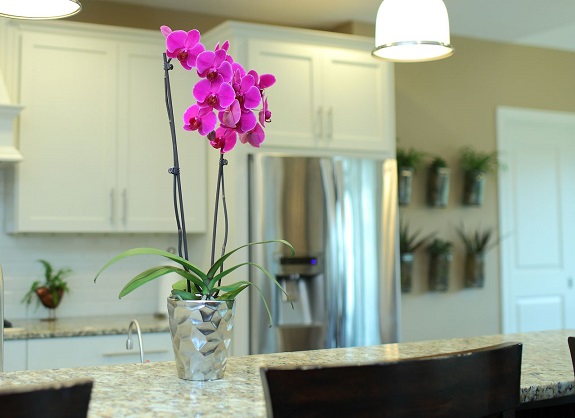
Keep them away from open windows and air vents to prevent your orchid from drying out. If your orchid's home is in the kitchen, keep it away from ripening fruit, which releases gas that can cause your orchid to lose its buds!
Changes in your plant may indicate sickness or they may also indicate a perfectly normal part of the orchid's lifecycle.
This change is never a good one. It can mean your orchid isn't getting enough water or light. It can also indicate root rot from getting too much water.
Pro Tip: Overwatering is one of the biggest mistakes plant parents make. That's why we recommend watering with three ice cubes once a week.
Your orchid's roots should be plump and bright green. If they've turned a gray or whitish color, they are ready for more water. Orchid roots naturally cycle from vibrant green after a fresh watering to silvery green or gray after the roots have delivered the water to the leaves and blooms. You should water your orchid if all the roots appear silvery green or gray.
Pro Tip: If you can, check all of the roots since the top roots become silvery green much faster than the bottom ones. Keeping your orchid in a clear pot that you place inside a more decorative pot makes it easy to check your orchid's roots.
Be sure to repot your orchid if the roots start poking through the drainage holes at the bottom of the pot. Otherwise, it can become root-bound and therefore unhealthy!
Your orchid's roots might start poking out above the soil and even over the edges of the pot. This is perfectly natural orchid behavior. In fact, air roots help your plant take in moisture and carbon dioxide from the air!
When your orchid starts losing its flowers, don't fret and don't throw it out! Most likely, it's entering the vegetative stage. (Non-horticulturists might refer to this as the resting or dormant stage, but Phalaenopsis Orchids never reach full dormancy.) This is perfectly normal. Orchids have a six-to ten-week blooming cycle, after which the plant loses its blooms.
While it may be sad to see, this is healthy for your orchid. Think of it like sleeping. It may not look like much is going on, but this stage gives the orchid time to store up energy for the next bloom. This does not mean your orchid no longer needs your care and attention, though. Continue watering with ice and follow these steps to ensure vibrant reblooming.
Want more tips for the beginner orchid owner? Subscribe to our blog for weekly tips and follow us on Instagram!

